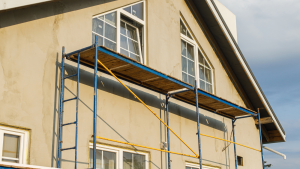
Stucco, known for its durability and classic appeal, can sometimes fall victim to cracks and holes over time. If your home’s exterior needs a little TLC, fear not! This DIY Stucco Restoration guide walks you through fixing and sealing those pesky imperfections, ensuring your home looks as good as new. Discover the excellence of CMB Wayne Stucco & EIFS – your trusted partner for quality exterior transformation.
What: Understanding DIY Stucco Restoration
Stucco repair involves addressing cracks and holes that might arise due to many things, such as weathering, settling, or the passage of time. By undertaking this restoration project yourself, you not only save on costs but also gain a sense of accomplishment as you contribute to the upkeep of your home.
Why: The Importance of Stucco Maintenance
Stucco, while durable, is not immune to wear and tear. Unchecked fractures and holes might result in more serious structural issues, impacting your home’s aesthetic and structural integrity. DIY stucco restoration is a proactive approach to maintaining the charm and value of your property.
Step-by-Step Guideline: Mastering DIY Stucco Repair
Step 1: Gather Your Materials
Before you embark on your stucco restoration journey, ensure you have all the necessary tools and materials. This includes a wire brush, a chisel, a stucco mix, a bonding agent, a trowel, and essential safety equipment, including gloves and goggles.
Step 2: Prepare the Surface
Use a wire brush to tidy the harmed region to remove loose or chipped stucco. For better adhesion, apply a bonding agent to the cleaned surface. This ensures that the new stucco will bond securely with the existing material.
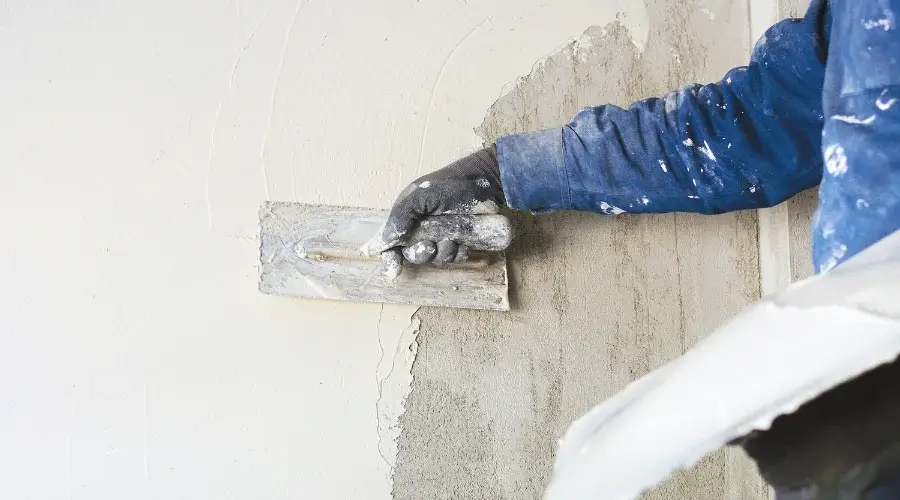
Step 3: Fill Cracks and Holes
Using a trowel, apply the stucco mix to fill in the cracks and holes. Smooth the surface evenly, ensuring a seamless blend with the surrounding stucco. You may need to apply the stucco mix in layers for larger holes, allowing each layer to dry before adding the next.
Step 4: Finishing Touches
Once the stucco has dried, use the trowel to create a texture that matches the surrounding stucco. This action is essential to obtaining a uniform and professional finish. Allow the repaired area to cure completely according to the product instructions.
Congratulations! You’ve successfully navigated the world of DIY stucco restoration and given your home a renewed lease on life. By investing time and effort into maintaining your stucco exterior, you not only enhance the curb appeal but also contribute to the longevity of your home. Embrace the satisfaction of a job well done, and relish in the beauty of your meticulously restored stucco façade. Your home thanks you for the care and attention!