One of the most frequent problems that homeowners have is stucco patching. The procedure is challenging and drawn out.
I’ll go into the basics of stucco repair in my next piece.
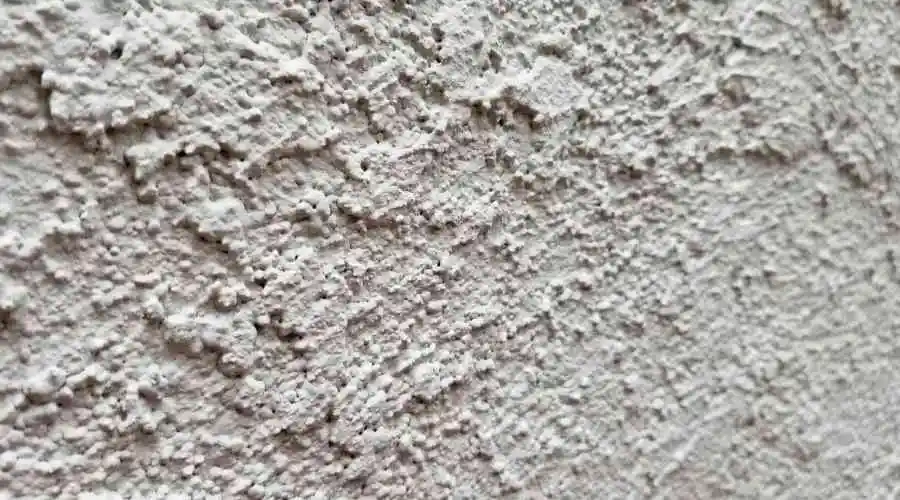
Step 1: Determine if you need to repair your stucco.
Stucco is made up of two layers of cement and a thin sand covering. This paste is then made by combining the ingredients with water. When it dries, it takes the shape of the mold it was in.
If your stucco begins to flake, remove it and reapply a new layer.
If the stucco is flaking in certain spots, you may repair it without removing the old stucco.
Consulting with a professional is typically a good idea if you are unclear if you need to repair your stucco.
Step 2:Eliminate the current stucco.
In most cases, replacing damaged stucco requires removing the old stucco and applying a fresh layer.
The process’s most challenging phase is this one, which requires removing the old stucco and applying a new layer. This calls for the employment of various cutting tools as well as safety precautions.
Step 3: Reapply fresh stucco.
After you’ve removed the old stucco, it’s time to apply the fresh layer.
In most circumstances, A trowel may be used to apply stucco. However, it’s important to understand that trowels are not the most efficient tools since stucco is a difficult substance to work with.
In other circumstances, a stiff-bristle brush works effectively.
If you have a trowel, trowel the stucco in the pattern of the original stucco. However, avoid using a trowel on a damp surface.
Step 4: Repair the stucco surrounding the door.
It is critical to ensure that the patching procedure does not harm the door.
Apply the fresh stucco around the entrance and walls, leaving a small space around the door open.
Once the fresh stucco has dried, fix the little area around the door.
Step 6: Reapply the sealant.
Reapply the sealant after cleaning away the dust and debris.
Most sealants need reapplication after a few weeks or months.
Step 7: Add extra paint as required.
Keep an eye out for paint peeling off the walls when painting the space.
To avoid peeling, apply a little quantity of paint sealer to the walls.
Paint the wall with a light coat. This is only feasible if the whole wall is dry.
Step 8: Caulk should be applied again.
If the roof leaks, make sure it doesn’t cause any damage.
Caulking on the roof may prevent water from leaking into the walls and ceilings.
Caulking may be done fast and easily using a caulking gun. It is available in a range of hues.
Step 9: tidy up
After you’ve applied the caulking, you may clean up.
Remove all of the dust and filth using a broad brush. With a moist cloth, remove any last bits of dust.
To remove loose dust and grime, a vacuum cleaner may be utilized.